Showing posts with label risotto. Show all posts

Wednesday, October 3, 2012

Butternut Squash Risotto


Funny thing is that I already have posted this recipe, but wanted to repost with better pictures etc (which I'm still not happy with the outcome of them), and when I went back to look at the original post I noticed I posted it a couple days from today- so I guess I must have a craving for fall recipes right around the beginning of October.

Worked out perfect because it is all rainy up here in NY this week- and the rain doesn't seem like it's letting up any time soon. So this is a perfect opportunity (rain or shine) to make this SUPER DELICIOUS recipe. Seriously it is hard for me to contain myself while eating this. 

I wanted to make it with short grain brown rice, buttttttt time constraints made me use long grain white rice.  Oh well.

This recipe will be incorporating my Classic Risotto recipe and making it into a fall favorite of mine, so if you want to read up more about risotto- go check it out.

Ingredients
  • A medium sized butternut squash, peeled and diced into bite size pieces (after diced it will look like about 3 cups of diced small pieces-after roasting it will shrink to about 2-2 1/2 cups worth)
  • Plus all the regular ingredients for classic risotto:
    • 1 1/4 cup of rice (shorter the grain the better-but I used long grain white rice this time) 
    • about 5-6 cups of chicken stock (you might not use it all- it varies each time)
    • 1 onion, diced
    • ½ cup of dry white wine
    • ½ cup of Parmesan cheese
    • Oil or butter (2 tbsp)
    • salt and pepper

Directions

  1. For the squash: preheat your oven to 425 degrees F.  Dice up the squash into bite sized pieces and scoop out the seeds.  Reserve for later.  Toss the squash with salt, pepper and oil and roast on a baking sheet for 20-25 minutes until soft (will vary on how small you cut the squash pieces.  I just let it roast until I'm ready to stir into the risotto at the very end). 
  2. In a sauce pan, add the stock (or I use water and bouillon cubes sometimes) and heat until a simmer, then reduce to not even a simmer.  The point is, we are just keeping the stock warm.
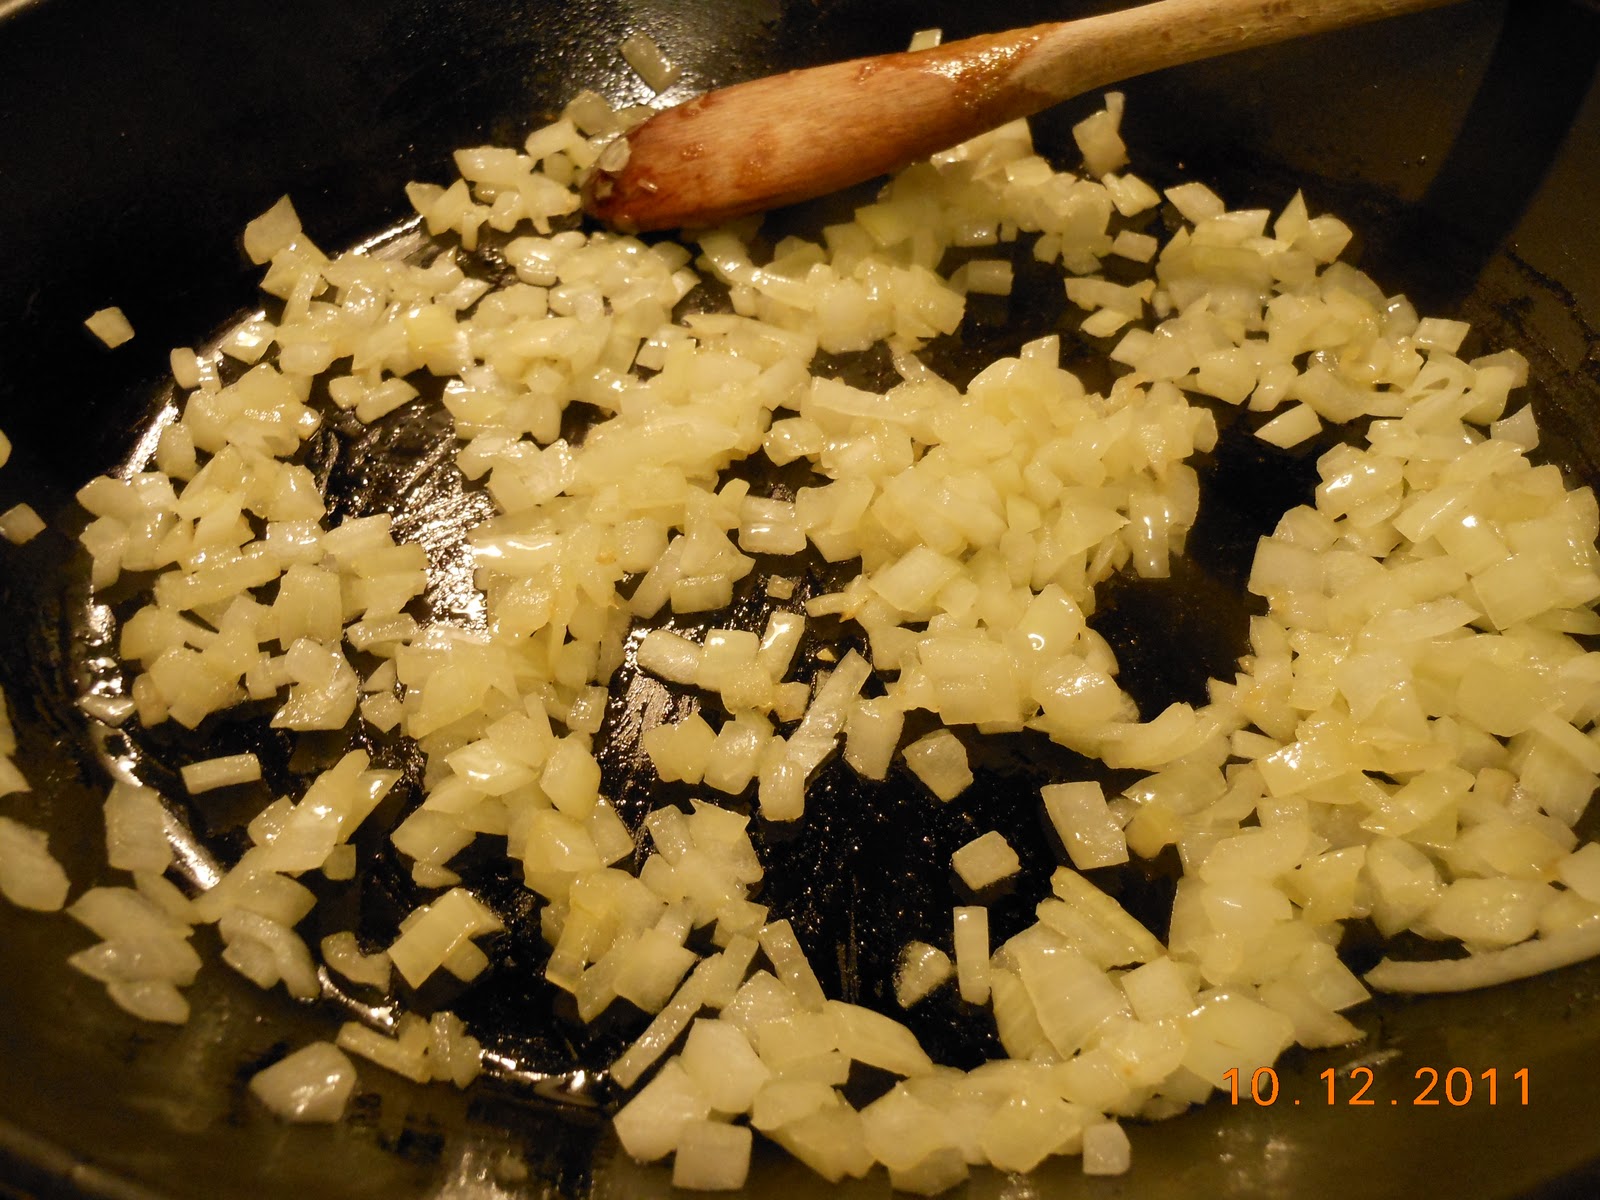
  3. In a large shallow pot or I use a large high sided skillet, heat 1 tbsp oil or butter on medium then add the onion.  Saute until soft, about 5-7 minutes.  Season with salt and pepper.
  4. Add the other tbsp of oil and then add the rice.  Toast the rice for about 5 minutes, make sure it doesn't not burn.  Lower the heat if necessary.
  5. Add the white wine and deglaze (scraping all the bits off the bottom of the pan).  When the wine is almost all absorbed add a ladleful of the warmed chicken stock.  Stir until the liquid is absorbed.  (Technically I think you have to stir the whole time, but I don't.  You just want to stir enough throughout the whole process to break up the starches in the rice to make the end texture creamy).
  6. Repeat the ladleful of chicken stock and stir until the liquid is absorbed.  Repeat this until all the chicken stock is gone or the rice is done.  I taste the rice towards the end to see if it's cooked through.  When it was all done, I had about 1/2 cup of chicken stock left that I didn't wind up using.
  7. When the rice is done add the cheese and mix until well incorporated.
  8. Gently stir in your roasted butternut squash.
  9. Serve and top with more cheese and sprinkle on some roasted seeds!*
*Seeds: After your scoop them out add them to a bowl of water.  Using your fingers try and clean the seeds from any flesh.  Let sit so all the seeds float to the top.  Gently scoop all the seeds from the top of the water and let dry briefly on a paper towel (its ok if they are still a bit wet- helps spices stick).  Put them on a baking sheet and season with salt and pepper.  Put in the oven to roast with the squash for about 7-10 minutes. It will depend on the size of the seeds- if you hear them start popping- they are done.

Butternut Squash

After roasting

Tuesday, October 18, 2011

Winter Squash- Butternut Squash

Butternut squash has the same benefits as the Spaghetti Squash.  It is sweet and versatile.  I prefer to roast it and then use it for whatever I might be making.  You can eat just as is as a side dish, or add it into other things (like this risotto); you can also puree it and stir into things for a lovely color and texture or probably an all around favorite making it into a soup. 

 
This recipe will be incorporating my Classic Risotto recipe and making it into a fall favorite of mine.  Sweet, salty, cheesy, filling- so good, seriously. And don’t forget to save the seeds and roast them like we did with the spaghetti squash!

 
For my Butternut Squash Risotto we just change a small amount of things to make this dish all it's own.  I actually have to credit Giada De Laurentiis for the idea of this.  The addition of the vanilla is definitely odd, and you can always leave it out, but the taste makes it so warm and comforting- it pairs perfect with the squash.  Don't knock it until you try it- I was skeptical at first too.

 
Ingredients

  •  2-3 pound butternut squash, peeled and diced into bite size pieces
  • 1 tsp of vanilla extract (or 1 vanilla bean seeds scraped plus the hull)
  • Plus all the regular ingredients for classic risotto:
    • 1 cup of rice (shorter the grain the better)
    • about 5-6 cups of chicken stock (you might not use it all- it varies each time)
    • 1 onion, diced
    • ½ cup of dry white wine
    • ½ cup of parmesan cheese
    • Butter
Directions

Honestly an easy way to prepare this is go to my risotto link because everything is exactly the same except for two things:

  1. In the pot with the stock add the vanilla
  2. For the squash: preheat your oven to 400 degrees F.  Toss the squash with salt, pepper and oil and roast for 15-20 minutes until soft (will vary on how small you cut the squash pieces).  When that's done- add to the risotto at the very end and mix until everything is fully incorporated.
  3. Add don't forget to reserve about 1-2 cups of squash for the next recipe of leftover butternut squash soup


Super Easy Leftover Butternut Squash Soup/Puree

Ingredients
(Serves about 2-4 people depending on how thick/thin you make it)

  • 1-2 cups of leftover butternut squash from risotto recipe
  • One small onion, diced
  • 2 ribs of celery, diced
  • 2 small sized carrots, diced
  • 2 garlic cloves, minced
  • 1-2  cups of chicken stock
  • 1 tsp thyme
  • salt and lots of fresh cracked pepper

Directions
  1. In a skillet sweat the onion, celery, carrot and garlic.  Season with salt and pepper.  Remember: Sweating is cooking over medium heat and not browning the veggies.  Cook for about 5-7 minutes or until soft.
  2. Then add the leftover squash and spices.  I mashed the squash a bit in the pan to make it easier for blending later.
  3. Now when everything is heated through- you can do this in either a food processor, blender or you can use your immersion stick blender .  I used a regular blender- so I put about half the veggie/squash mixture in the blender with about ½ - 1 cup of stock- and gave it a buzz until blended.  Then I emptied the blender and did the second batch.
  4. Now the consistency is completely up to you- I like thick soups (almost a puree really) and used less stock- if you want it thinner- just use more stock.  
  5. When all batches are done I put the soup/puree back into the skillet and heated it up- just to make sure it was hot throughout. (because I used leftover cold stock)
  6. When its hot- dish out into bowls and top with whatever you like.  Some suggestions: roasted squash seeds, sour cream, crème fraiche, bacon, extra virgin olive oil etc.

If you leave it thick, like a puree, then you could also serve underneath some baked chicken as a side dish application.

Also to make this soup vegetarian- just use veggie stock instead of chicken!


Thursday, October 13, 2011

Risotto


Ok so risotto isn't as hard as it seems, but it does require a bunch of stirring.  I have made risotto without stirring constantly and you still get a nice result.  Also, risotto is not a dish, it is a cooking technique.  Usually it is made with a short grain rice (there are three types, but the most common one is arborio rice).  For some reason I have a hard time finding it, and when I do it is so over-priced.  So yes, most times I use long grain rice, jasmine rice, or even pasta (especially orzo or broken spaghetti).  You just need to understand what is going on when you cook risotto.  Basically you are breaking down the starches in the food (this is why you need to stir stir stir!) and then some starch is being released and some gets absorbed back into the rice or grain you are using.  That is why it has a creamy texture in the end.  This technique is a classic and a corner stone in the kitchen.  Once you know the technique by heart, you won't think it's that big of a deal.  Actually, I like how risotto takes time to cook- it is time you can spend in the kitchen with friends or loved ones just chatting and enjoying some wine- you can also have them help you stir when your arm gets tired.

Risotto is a classic Italian dish.  I usually pair it with baked chicken, or something I don't really need to keep an eye on, so I can focus on the risotto.  Risotto is a great technique to learn because there are so many different ways you can customize it.  As long as you follow the traditional directions below- you can add pretty much anything to it.  Some examples: mushrooms, spinach, asparagus, lemon, different cheeses, chicken, fennel, bacon and the list goes on. 

 
Ingredients
  • 1 cup of rice (shorter the grain the better)
  • about 5-6 cups of chicken stock (you might not use it all- it varies each time)
  • 1 onion, diced
  • ½ cup of dry white wine
  • ½ cup of parmesan cheese
  • Butter
Directions
  1. We need to start with two pans- one a large skillet and the other a pot for the stock.
  2. In the pot add the stock and warm it up- we just need to get the liquid warm and keep over low heat.
  3. In the skillet add about 2 tbsp of butter (or you could use oil too).  Keep the flame over medium heat and when the butter is melted add the onion and some salt.  We are sweating the onion, not browning it.  So do this over medium heat until the onions are translucent.
  4. When the onions are done add the rice and toast the rice for a couple minutes.
  5. Deglaze the pan with the wine.  Let the rice absorb the wine completely.
  6. Now we start with the first edition of the stock.  This is going to take a couple of installments.  Add enough stock to the skillet (about 2-3 ladles full) to just barely cover the rice.  Stir this until all the liquid is absorbed. (Yes, lots of stirring needed to develop the starches).
  7. Repeat step 6 until the rice has a creamy consistency and is cooked through.  You should use almost all the stock, if not all of it.  It varies, sometimes I use it all- sometimes I am left with a cup or so leftover.
  8. At the very end add the cheese and a tbsp of butter and whip it up like mad to get the correct final consistency.
  9. Serve immediately.


And that's it! Told you it was easy!

 
If you wanted to make this with additions- you would either add them in when you cook the onions, before the rice toast, or at the end right before you add the cheese.  Add with the onion if the food needs to be cooked (e.g. mushrooms, garlic).  Add at the end if the food is already cooked (or really quick cooking- e.g. peas, spinach).


Related Posts Plugin for WordPress, Blogger...