Showing posts with label rice. Show all posts

Wednesday, October 3, 2012

Butternut Squash Risotto


Funny thing is that I already have posted this recipe, but wanted to repost with better pictures etc (which I'm still not happy with the outcome of them), and when I went back to look at the original post I noticed I posted it a couple days from today- so I guess I must have a craving for fall recipes right around the beginning of October.

Worked out perfect because it is all rainy up here in NY this week- and the rain doesn't seem like it's letting up any time soon. So this is a perfect opportunity (rain or shine) to make this SUPER DELICIOUS recipe. Seriously it is hard for me to contain myself while eating this. 

I wanted to make it with short grain brown rice, buttttttt time constraints made me use long grain white rice.  Oh well.

This recipe will be incorporating my Classic Risotto recipe and making it into a fall favorite of mine, so if you want to read up more about risotto- go check it out.

Ingredients
  • A medium sized butternut squash, peeled and diced into bite size pieces (after diced it will look like about 3 cups of diced small pieces-after roasting it will shrink to about 2-2 1/2 cups worth)
  • Plus all the regular ingredients for classic risotto:
    • 1 1/4 cup of rice (shorter the grain the better-but I used long grain white rice this time) 
    • about 5-6 cups of chicken stock (you might not use it all- it varies each time)
    • 1 onion, diced
    • ½ cup of dry white wine
    • ½ cup of Parmesan cheese
    • Oil or butter (2 tbsp)
    • salt and pepper

Directions

  1. For the squash: preheat your oven to 425 degrees F.  Dice up the squash into bite sized pieces and scoop out the seeds.  Reserve for later.  Toss the squash with salt, pepper and oil and roast on a baking sheet for 20-25 minutes until soft (will vary on how small you cut the squash pieces.  I just let it roast until I'm ready to stir into the risotto at the very end). 
  2. In a sauce pan, add the stock (or I use water and bouillon cubes sometimes) and heat until a simmer, then reduce to not even a simmer.  The point is, we are just keeping the stock warm.
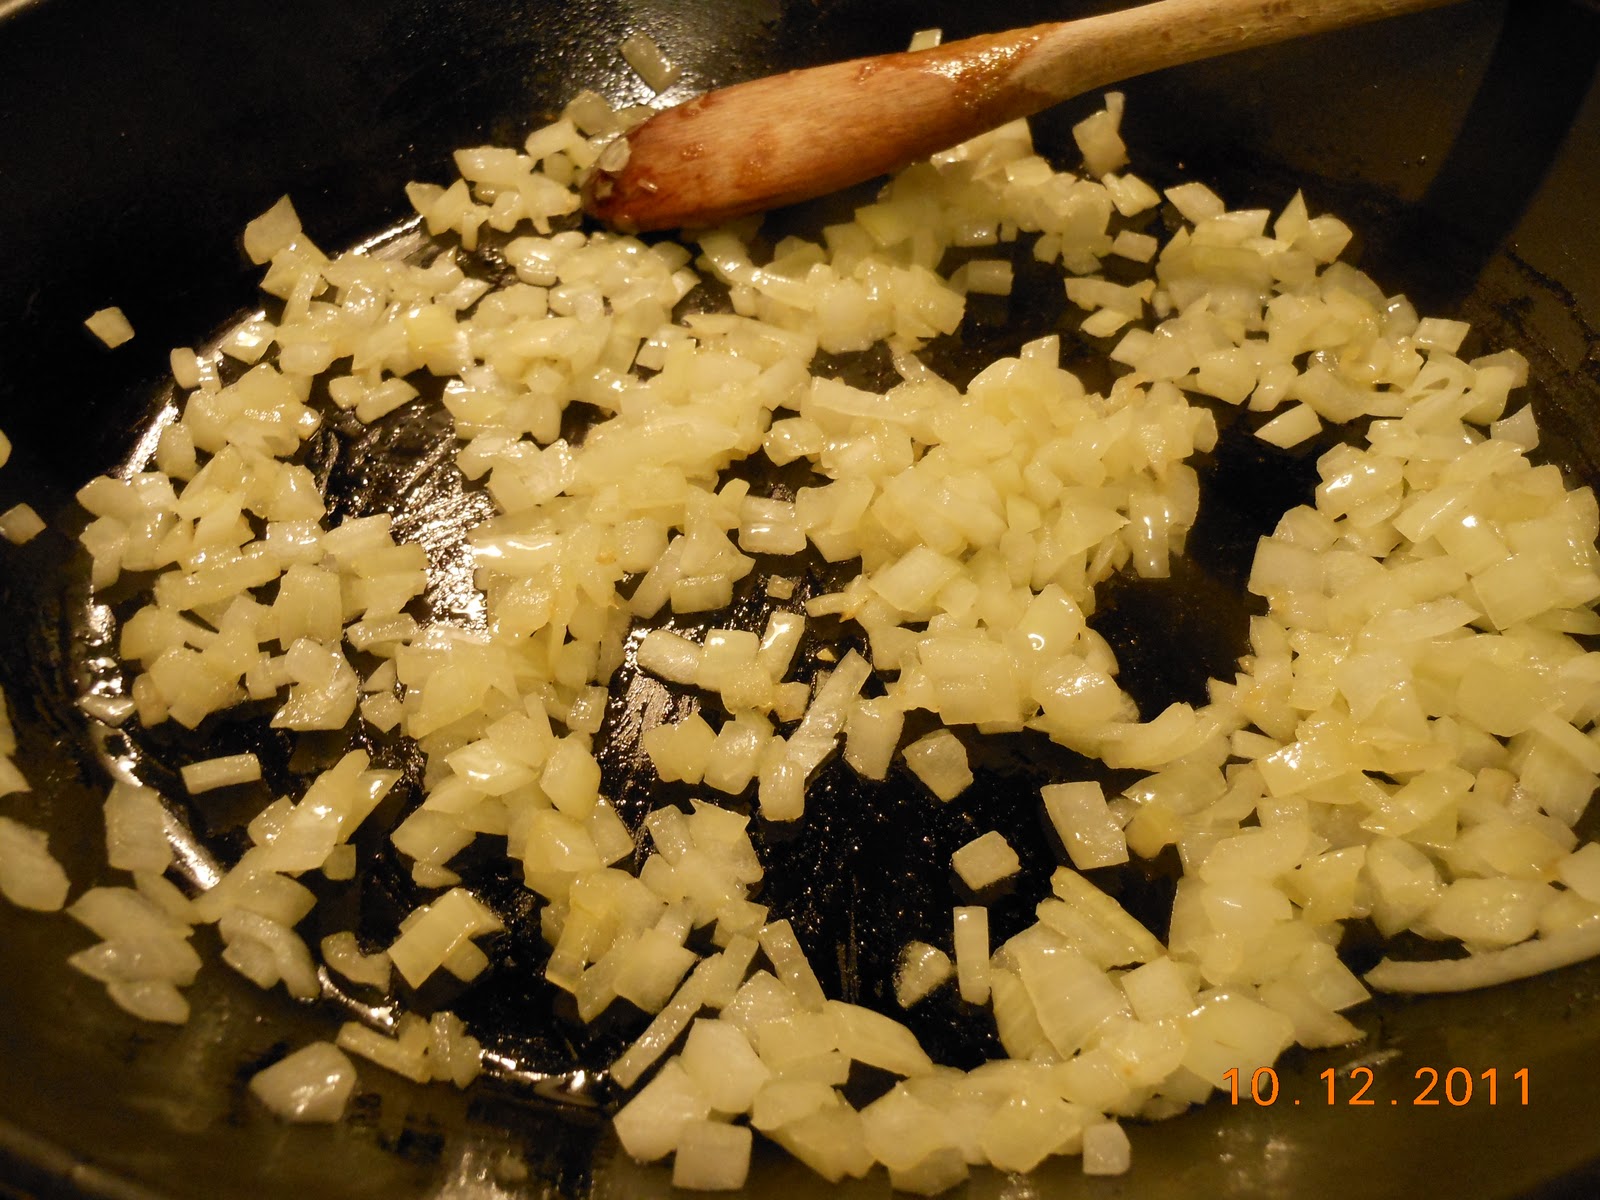
  3. In a large shallow pot or I use a large high sided skillet, heat 1 tbsp oil or butter on medium then add the onion.  Saute until soft, about 5-7 minutes.  Season with salt and pepper.
  4. Add the other tbsp of oil and then add the rice.  Toast the rice for about 5 minutes, make sure it doesn't not burn.  Lower the heat if necessary.
  5. Add the white wine and deglaze (scraping all the bits off the bottom of the pan).  When the wine is almost all absorbed add a ladleful of the warmed chicken stock.  Stir until the liquid is absorbed.  (Technically I think you have to stir the whole time, but I don't.  You just want to stir enough throughout the whole process to break up the starches in the rice to make the end texture creamy).
  6. Repeat the ladleful of chicken stock and stir until the liquid is absorbed.  Repeat this until all the chicken stock is gone or the rice is done.  I taste the rice towards the end to see if it's cooked through.  When it was all done, I had about 1/2 cup of chicken stock left that I didn't wind up using.
  7. When the rice is done add the cheese and mix until well incorporated.
  8. Gently stir in your roasted butternut squash.
  9. Serve and top with more cheese and sprinkle on some roasted seeds!*
*Seeds: After your scoop them out add them to a bowl of water.  Using your fingers try and clean the seeds from any flesh.  Let sit so all the seeds float to the top.  Gently scoop all the seeds from the top of the water and let dry briefly on a paper towel (its ok if they are still a bit wet- helps spices stick).  Put them on a baking sheet and season with salt and pepper.  Put in the oven to roast with the squash for about 7-10 minutes. It will depend on the size of the seeds- if you hear them start popping- they are done.

Butternut Squash

After roasting

Monday, March 12, 2012

Healthy Fried Rice

Sorry guys! I have been super busy the past week! This month is jam packed with stuff to do and it is just flying by! Multiple birthdays, planning our engagement party, tax season (i.e. I work for an accountant) etc. it is non stop! Anyway, so here is a super fast recipe- that will leave you throwing take-out menus in the garbage from now on ;)
So honestly this is not a super original recipe or idea for that matter of making fast food healthy.  (Inspired by Elie Kreiger's recipe) This recipe was so delicious, easy and satisfying I had to share.  In fact I'm eating some as I type this.  Flavors and textures are awesome and if you aren't a tofu person, substitute some chicken or just leave it out all together.

I cannot get enough of edamame (immature soy beans).  I can just eat them boiled raw. They remind me of big beans or peas that don't have such a starchy taste/texture.  I usually by them boiled and frozen in the pod (it is hard for me to find them shelled) and then defrost quickly and shell them myself. But if you can find shelled go for it.  If you can't find edamame, just substitute peas- no big deal.

Also, the serving size is about 1 and a half cups- for about 500 cal. Plus a whole lot less sodium and fat then regular take out. 

This is a great place to use up left over rice.  If you don't have left over just precook the rice.  This dish takes minutes to come together so start after the rice is fully cooked.  I like to precook the tofu separate so it gets crispy and browned on the outside instead to just mixing it in.  The eggs are also optional, I don't think I would miss them, but it definitely adds to the feel of classic fried rice.

Also for the tofu, take out of the package and drain first.  Then wrap in paper towels and set on a plate- then put another plate on top of that and put something heavy, like a can of tomatoes or a skillet to help drain and squeeze out all the extra liquid.  Before cooking I like to cut long-ways in half to get max surface area browning.

Ingredients

· 1 package of firm tofu
· Cooking spray
· 1 tablespoon of oil
· 2 large cloves of garlic, grated
· 2 tbsp of ginger, grated
· 1 bunch of scallions (about 6), chopped/sliced
· about 3-4 cups of brown rice
· 1 red pepper, diced
· about 1 cup of edamame, shelled
· 1/2 cup of frozen corn
· 2 eggs beaten
· 3-4 tbsp low sodium soy sauce

Directions
1.      Cook the rice if needed first, then when that is done start these other steps.
2.      If you need to cook the rice you can precook the tofu while you cook the rice and just reserve it for later.  Heat a non stick skillet over high heat and spray with cooking spray.  When hot add the tofu. Brown on both sides (couple minutes each side) and then remove and let cool.  When cool cut into small bite sized squares.
3.      When your rice and tofu are ready- Heat the oil in a large skillet over high heat.
4.      When really hot add the scallions, pepper, garlic and ginger.  Cook only for about 2-3 minutes. 
5.      Add the rice, tofu, edamame and corn.  Stir gently until all heated through- not even five minutes.
6.      You can either do this is a separate pan or the same.  If doing it in the same pan- make a well in the middle and either spray with cooking spray or drop a splash of oil, then add the eggs.  Stir until scrambled. (Obviously if doing it in a second pan, just scramble the eggs and then stir in)
7.       Finally just add the soy sauce and make sure everything is mixed well.

We like top enjoy topped with Sriracha! Spicy!

Enjoy!


Wednesday, December 28, 2011

Blue Cheese & Walnut Chicken Roulade w/ Roasted Asparagus

So my baking skills are not so good- I attempted to make these chocolate cookies with a peanut butter center and it was a disaster.  So here is an easy chicken recipe that sounds real fancy and tastes delicious- unlike what my cookies tasted like.  If you need more detailed step by step pictures of how to assemble the chicken roulade check out the original blog post on it: Chicken Roulade

The combo of walnuts and blue cheese are a classic pairing and add such flavor and texture to a simple piece of chicken.

Ingredients
  • 2 boneless skinless chicken breasts- butterflied
  • about 1/2 cup of blue cheese, crumbled
  • about 1/2 cup of walnuts, chopped
  • 1 pound of asparagus
  • salt, fresh cracked pepper, oil
Directions

  1. Preheat the oven to 375 degrees F
  2. Butterfly the chicken.  You can pound them thin you want, I didn't bother this time.
  3. Stuff the chicken with the cheese and nuts. 
  4. Roll up the chicken and secure with butcher's twine or toothpicks
  5. Coat the outside with oil, salt and lots of black pepper.  The pepper makes this amazing crust that stands up to the bold flavor of the blue cheese.
  6. Cook until the juices run clear (about 160 degrees F) about 20-25 minutes
For the asparagus, all you need to do is cut off about an inch from the bottom because the ends are a bit woody and hard to chew.  Then lay on a baking sheet and coat with oil, salt and pepper and put in the oven with the chicken on the upper rack and chicken on the lower one.  Cook them until they are limp and the tops look a bit dried out- about the same time as the chicken- if they don't seem done by the time the chicken is, just remove the chicken and turn the oven up to 400 degrees F and cook a couple more minutes.

Serve on top of some brown rice or Bulgar wheat and you have a super tasty super easy dinner!

Tuesday, October 18, 2011

Winter Squash- Butternut Squash

Butternut squash has the same benefits as the Spaghetti Squash.  It is sweet and versatile.  I prefer to roast it and then use it for whatever I might be making.  You can eat just as is as a side dish, or add it into other things (like this risotto); you can also puree it and stir into things for a lovely color and texture or probably an all around favorite making it into a soup. 

 
This recipe will be incorporating my Classic Risotto recipe and making it into a fall favorite of mine.  Sweet, salty, cheesy, filling- so good, seriously. And don’t forget to save the seeds and roast them like we did with the spaghetti squash!

 
For my Butternut Squash Risotto we just change a small amount of things to make this dish all it's own.  I actually have to credit Giada De Laurentiis for the idea of this.  The addition of the vanilla is definitely odd, and you can always leave it out, but the taste makes it so warm and comforting- it pairs perfect with the squash.  Don't knock it until you try it- I was skeptical at first too.

 
Ingredients

  •  2-3 pound butternut squash, peeled and diced into bite size pieces
  • 1 tsp of vanilla extract (or 1 vanilla bean seeds scraped plus the hull)
  • Plus all the regular ingredients for classic risotto:
    • 1 cup of rice (shorter the grain the better)
    • about 5-6 cups of chicken stock (you might not use it all- it varies each time)
    • 1 onion, diced
    • ½ cup of dry white wine
    • ½ cup of parmesan cheese
    • Butter
Directions

Honestly an easy way to prepare this is go to my risotto link because everything is exactly the same except for two things:

  1. In the pot with the stock add the vanilla
  2. For the squash: preheat your oven to 400 degrees F.  Toss the squash with salt, pepper and oil and roast for 15-20 minutes until soft (will vary on how small you cut the squash pieces).  When that's done- add to the risotto at the very end and mix until everything is fully incorporated.
  3. Add don't forget to reserve about 1-2 cups of squash for the next recipe of leftover butternut squash soup


Super Easy Leftover Butternut Squash Soup/Puree

Ingredients
(Serves about 2-4 people depending on how thick/thin you make it)

  • 1-2 cups of leftover butternut squash from risotto recipe
  • One small onion, diced
  • 2 ribs of celery, diced
  • 2 small sized carrots, diced
  • 2 garlic cloves, minced
  • 1-2  cups of chicken stock
  • 1 tsp thyme
  • salt and lots of fresh cracked pepper

Directions
  1. In a skillet sweat the onion, celery, carrot and garlic.  Season with salt and pepper.  Remember: Sweating is cooking over medium heat and not browning the veggies.  Cook for about 5-7 minutes or until soft.
  2. Then add the leftover squash and spices.  I mashed the squash a bit in the pan to make it easier for blending later.
  3. Now when everything is heated through- you can do this in either a food processor, blender or you can use your immersion stick blender .  I used a regular blender- so I put about half the veggie/squash mixture in the blender with about ½ - 1 cup of stock- and gave it a buzz until blended.  Then I emptied the blender and did the second batch.
  4. Now the consistency is completely up to you- I like thick soups (almost a puree really) and used less stock- if you want it thinner- just use more stock.  
  5. When all batches are done I put the soup/puree back into the skillet and heated it up- just to make sure it was hot throughout. (because I used leftover cold stock)
  6. When its hot- dish out into bowls and top with whatever you like.  Some suggestions: roasted squash seeds, sour cream, crème fraiche, bacon, extra virgin olive oil etc.

If you leave it thick, like a puree, then you could also serve underneath some baked chicken as a side dish application.

Also to make this soup vegetarian- just use veggie stock instead of chicken!


Thursday, October 13, 2011

Risotto


Ok so risotto isn't as hard as it seems, but it does require a bunch of stirring.  I have made risotto without stirring constantly and you still get a nice result.  Also, risotto is not a dish, it is a cooking technique.  Usually it is made with a short grain rice (there are three types, but the most common one is arborio rice).  For some reason I have a hard time finding it, and when I do it is so over-priced.  So yes, most times I use long grain rice, jasmine rice, or even pasta (especially orzo or broken spaghetti).  You just need to understand what is going on when you cook risotto.  Basically you are breaking down the starches in the food (this is why you need to stir stir stir!) and then some starch is being released and some gets absorbed back into the rice or grain you are using.  That is why it has a creamy texture in the end.  This technique is a classic and a corner stone in the kitchen.  Once you know the technique by heart, you won't think it's that big of a deal.  Actually, I like how risotto takes time to cook- it is time you can spend in the kitchen with friends or loved ones just chatting and enjoying some wine- you can also have them help you stir when your arm gets tired.

Risotto is a classic Italian dish.  I usually pair it with baked chicken, or something I don't really need to keep an eye on, so I can focus on the risotto.  Risotto is a great technique to learn because there are so many different ways you can customize it.  As long as you follow the traditional directions below- you can add pretty much anything to it.  Some examples: mushrooms, spinach, asparagus, lemon, different cheeses, chicken, fennel, bacon and the list goes on. 

 
Ingredients
  • 1 cup of rice (shorter the grain the better)
  • about 5-6 cups of chicken stock (you might not use it all- it varies each time)
  • 1 onion, diced
  • ½ cup of dry white wine
  • ½ cup of parmesan cheese
  • Butter
Directions
  1. We need to start with two pans- one a large skillet and the other a pot for the stock.
  2. In the pot add the stock and warm it up- we just need to get the liquid warm and keep over low heat.
  3. In the skillet add about 2 tbsp of butter (or you could use oil too).  Keep the flame over medium heat and when the butter is melted add the onion and some salt.  We are sweating the onion, not browning it.  So do this over medium heat until the onions are translucent.
  4. When the onions are done add the rice and toast the rice for a couple minutes.
  5. Deglaze the pan with the wine.  Let the rice absorb the wine completely.
  6. Now we start with the first edition of the stock.  This is going to take a couple of installments.  Add enough stock to the skillet (about 2-3 ladles full) to just barely cover the rice.  Stir this until all the liquid is absorbed. (Yes, lots of stirring needed to develop the starches).
  7. Repeat step 6 until the rice has a creamy consistency and is cooked through.  You should use almost all the stock, if not all of it.  It varies, sometimes I use it all- sometimes I am left with a cup or so leftover.
  8. At the very end add the cheese and a tbsp of butter and whip it up like mad to get the correct final consistency.
  9. Serve immediately.


And that's it! Told you it was easy!

 
If you wanted to make this with additions- you would either add them in when you cook the onions, before the rice toast, or at the end right before you add the cheese.  Add with the onion if the food needs to be cooked (e.g. mushrooms, garlic).  Add at the end if the food is already cooked (or really quick cooking- e.g. peas, spinach).


Tuesday, September 13, 2011

Chicken, Rice and Chinese Broccoli


Chinese broccoli is my new love.  It was cheap and tasty.  Even Brendan said he liked it a lot.  I have never used CB before, but I figured it was something like broccoli rabe.  I tasted it raw then blanched and then cooked.  It is very similar to broccoli rabe, but not as bitter.  If you can't find CB you can substitute any other spicy green.  I just liked using this because I was also able to use the stems too.  I cut off the leaves then peeled the rough outer layer of skin on the stems and then just sliced into little coins.  It made for a delicious crunchy texture in the dish. 


Ingredients
  • 2 large boneless skinless chicken breasts
  • 1 bunch of chinese broccoli (I would say it was about 1-2 lbs.  The picture above shows half the bunch cut up)
  • 2 large garlic cloves, minced
  • about an inch of fresh ginger root, grated
  • salt and pepper
  • 1 cup of jasmine rice (or whatever rice you like)
  • little less than 2 cups of water
  • water and salt for blanching
Directions
1.      Preheat your oven to 350 degrees F.
2.      First I prepped the CB.  Wash and cut into smaller pieces.  Peeled and cut the stems into coin shapes.
3.      I used a 12 inch skillet (so I didn’t dirty more pans) and filled with water.  Bring it to a boil and add a small handful of salt.  Add the broccoli leaves and blanch for about 1-2 minutes to remove some of that raw bitter taste.  They will turn a vibrant green when done.
4.      You can do it the right way and shock the leaves in ice water- or (what I usually do) you can just rinse with cold water to slow down/stop the cooking.  The skillet should be empty now- I just added the stem coins to the still hot skillet and just let sit until the leaves and pan cooled.
5.      While you are letting the CB cool down, mince the garlic and reserve. 
6.      Now butterfly the chicken and cover with plastic wrap and pound out.  (see my chicken roulade recipe for more detailed instructions on this step)
7.      Season the chicken with salt and pepper.  In each chicken breast add a good sized handful of the CB (leaves and a couple stems) and half the garlic (so about a clove in each breast).  I grated about a tsp of ginger on top of all that on each breast as well.  You don't have to fit all the CB into the chicken, I had a good bit left over and added it to the rice- I especially liked the stems in the rice.
8.      Now roll up and I secured with a couple tooth picks.
9.      In the skillet that we used to blanch get some oil over high heat.  When the oil is super hot add the chicken and sear until golden brown on all sides.  When all brown add enough water to the skillet/pan to just coat the bottom- this will help the chicken to not dry out.  Cover loosely with tinfoil and put right into the oven for about 20 minutes. We just want the chicken to finish cooking though.
10.  After you put the chicken in, get a small pot and add the 2 cups of water, 1 cup of rice and 1 tablespoon of salt and bring to a boil.  When it comes to a boil, reduce to simmer and keep partially covered.  It will take about 15-20 minutes.  When most of all the liquid is gone add the rest of the CB, turn off the heat, and cover.  Let sit for 5 minutes.  Letting it sit is important.  Then fluff with a fork.
11.  When the chicken is done slice and serve over the rice.  Don’t forget to take the toothpicks out! I garnished with some red pepper flakes and used the juices from the chicken pan to drizzle over the top.


Sunday, July 17, 2011

Grilled Chipolte Lime Pork Tenderloin w/ Mango Salsa

Personally I was skeptical about the mango in the salsa, at heart I am a tomato girl, but the taste is surprisingly amazing.  I was actually expecting this recipe to be an "in your face" bold flavor experience, but all the flavors came together more as a perfect melody than any one standing out.  Hot rice topped with cold crunchy salsa and the juicy pork makes this dish so delicious.  This meal is also very healthy, to make it even more healthy you can swap the white rice for a whole wheat, or other grain. 

The mango blends with the rest of the salsa flavors to balance it all out- salty, tangy and sweet.  It is just the "sugar" of the salsa, because a lot of salsas do have a little sugar added.  If you are still doubtful about the mango, try a bite of it with the mango, and if you don't like it, have a tomato standing by to substitute in.  But believe me it is worth trying- I bet you will be pleasantly surprised.

A little bit about pork tenderloin: it comes in cryovac and has two pieces- because there are two tenderloins in each pig.  It is a very lean cut with practically no fat, but when you get it you can clean it up a little bit if needed.  One thing you will need to do is remove the "silver skin" it will never break down and is tough and inedible.  Since I didn't take pics of this you can refer to this video to help with that How to Trim Fat from Pork Tenderloin


Salsa:
  • 2 ears of grilled corn (or about 3/4 cup of frozen thawed)
  • 1 bell pepper, chopped (color of your choice)
  • ½ red onion chopped
  • 1 jalapeno chopped
  • 1 lime, juiced
  • 1 mango diced
  • pinch of garlic powder
  • ½ tsp salt
  • ½ tsp of cumin
  • about 2 tablespoons of EVOO
Just mix all ingredients in a bowl and put in the fridge until you're ready to plate.


Rice:
Prepare any rice you like. I used jasmine rice- 3/4 cup of rice to 1 ½ cups of water with 2 chicken bullion cubes. Combine all in a pot, bring to a boil and then reduce to simmer for about 20 mins.

Pork tenderloin:

I marinated the pork for about 6 hours- in the morning I put it together and by dinner time it's good to go. 

Marinade:
  • 1 lime, juiced and zested
  • 2 small garlic cloves minced
  • 3-4 tbs of extra virgin olive oil
  • 1 chipolte in adobo chopped
  • 2 tsp of salt
  • couple grinds of fresh black pepper
 In a ziplock bag mix all the ingredients together and then add the pork. Put in the fridge. Longer it sits the better, but even 15 minutes will be better than nothing.

When cooking time comes, preheat your grill or grill pan to high. Put the pork on the grill* and as for the leftover marinade (if you feel comfortable doing this, some people are a little sketchy with the bacteria- but as long as you marinated the pork in the fridge the bacteria did not become immune to heat so as long as you boil it you're fine) add a cup of water to the ziplock and then pour it all out into a sauce pan.  Boil this mixture for ten mins- it will reduce and that's what we want (if it is reducing too much just add more water).  When the pork is cooked through to 140 degrees, make a tinfoil pocket and pour in the reduced marinade, then add the pork and seal it up.  This is called a post marinade- it just adds even more flavor.  Let this sit for ten minutes.  Then slice and serve over the rice and salsa! Enjoy!

Tinfoil pocket

*grilling time can vary.  I would say at least 15 mins.  I had a pork tenderloin that was about 1½ lbs. I was always unable to really judge the doneness of meat, so if you are good with knowing cook time and internal temperatures then wonderful, but if you're like me- invest in a digital probe thermometer (or regular meat thermometer) and you can guaranteed yourself a good piece of meat every time.  There is nothing worse than overcooked dried out meat.  When you use the thermometer, just make sure it is inserted into the thickest part of the piece of meat.

Wednesday, June 22, 2011

Spicy Mexican Stir Fry (Fajitas)


This recipe is basically a fajita recipe without the tortillas.  Fajitas are traditionally served with a tortilla so that's why I named it a stir fry instead of a fajita recipe.  I love spicy food. I even got to use my homemade pickled jalapenos to top it all off.  This recipe could seriously feed about 6 people.  If you are making for a lot of people I would probably just double the rice recipe. This is why I call it budget friendly, because with just a few ingredients and big bold flavor you can feed a bunch of people some delicious stuff.  Honestly, this is one of my go-to cheap, fast and easy recipes.  It really isn't original, but its damn tasty.  Even my boyfriend walked into the kitchen and said "FAJITAS!?" LoL.  This recipe is also wonderful because you can tweak it to your preference and you subsitute any meat (I used chicken in this one). You could add beans and/or corn to the rice to push more flavor and texture.  I actually prefer the fajita way (wrapped in a tortilla)- because it's just more fun to eat :)

Sazón: This is why the rice is orange.  It is a Latin seasoning that I used sometimes to incorporate flavor into, well really anything.  The box says you can add it to meat as a rub, or soup, or stews, or veggies- it's an all purpose seasoning.  There are different brands and blends but it usually has a bit of cilantro, paprika, saffron, garlic powder, ground cumin and salt.

Chipolte in Adobo: This little secret is just one of my favorite cooking ingredients.  They are smoked jalapenos in a sauce that is made up of tomatoes, salt, vinegar, and other spices.  I did say I liked spicy foods.  You can find these in a small little can- might have to look in the Mexican/International food aisle.  These can get spicy so start small and work your way up.  Besides the spice, you get this awesome smokey flavor. So good.

Vegetable Oil: I used vegetable oil, which is a switch-up from my usual extra virgin, but veggie oil has a higher smoke point- which means it can get way hotter then EVOO- which makes for quick cooking and brown food. Whenever making a stir-fry (Mexican or Asian influence) always use a high smoke point oil.  How do I know the smoke point? A good rule of thumb is that the lighter the color of the oil- the higher the smoke point.

Ingredients

(Tbsp= Tablespoon)
For the Stir-Fry/Fajitas Mixture:
  • 3 boneless skinless chicken breasts
  • 3 red bell peppers, sliced into strips
  • 2 medium onions, sliced
  • 2-3 garlic cloves, minced
  • 1 small can of tomato sauce (8oz)
  • 1 chicken bullion cube
  • 2 tbsp chili powder
  • 1 tbsp cumin
  • 1 tsp of coriander
  • 1 tsp oregano
  • 1 chipolte in adobo, chopped
  • salt, pepper, vegetable oil
For the Rice:
  • 1 cup of rice (I used Jasmine rice)
  • 2 cups of water
  • salt, pepper
  • 1 packet of sazon
Directions
  1. For the rice: put all ingredients in a pot and bring to a boil, then reduce to a simmer for about anywhere from 10-20 mins.  You could wait for the water to boil, then add the rice, but I was just being lazy, and it still turns out the same.
  2. Slice the chicken into strips and prepare all your veggies.
  3. Using the biggest skillet you have- put it over high heat and add the oil. Make sure the oil is super hot and throw the chicken in and season will all the spices (including the bullion cube).
  4. When the chicken is almost completely done cooking throw in your veggies and garlic. Keep stirring to incorporate the spices- Using tongs helps here.
  5. At the very end add the tomato sauce and chipolte in adobo.  Taste it and make sure its good and you're ready to serve along side or on top of the rice.
  6. My favor garnish is pickled jalapenos and sour cream- as you can tell from the pictures.
Related Posts Plugin for WordPress, Blogger...