Showing posts with label spinach. Show all posts

Thursday, December 22, 2011

California Chicken Burgers with Cabbage Carrot Slaw


I know I have been slacking! Just realized my last post was the beginning of the month! Tomorrow I hope to post some cookie recipes I will be trying out.  I don't do much baking, so we will see how good they come out.

Here in New York it definitely doesn't feel like winter and if the BBQ wasn't all packed away I just might have broke it out.  So instead I got the trusty George Foreman grill going and made some of these tasty tasty burgers.  Chicken burgers are not the same as beef, because 1) they have no flavor on their own and 2) you MUST cook them all the way through.  Both reasons might make chicken burgers a bit tricky but with all these big flavors and my trusty meat thermometer we are ready to go.  I also have to add that these are pretty healthy- we ground boneless skinless chicken breasts ourselves, flavored with spices and low calorie items and used turkey bacon.  The slaw is good for you too- no mayo and we used heart healthy extra virgin olive oil. (I can only hate on the bread because of the carb count- but what the heck- it's the holidays right?)

A chicken burger is not exactly an original but I couldn't find a recipe that was exactly what I wanted so obviously I just made up my own with all the flavors I liked the best.  This idea came from a wrap that was on the menu at one of our favorite diners, that unfortunately closed down :(  But now will live on in this recipe :)

For 6 burgers:
  • 2 ½ boneless skinless chicken breasts
  • 2 tablespoons of McCormick Montreal Grill Seasoning
  • 2 cloves of garlic, minced
  • ½ red onion, diced
  • 1 ½ carrots, shredded (shred 3 all together if making the slaw too)
  • 2 chipolte in adobo, chopped
  1. In a food processor (or a meat grinder) grind up the chicken.  If you want to buy already ground chicken, I would say this came out to about 2 pounds worth.
  2. Then mix the meat and all the other ingredients in.  Then form the patties (I got about 6, it might vary on the size of your chicken breasts)
  3. Get your grill or frying pan hot and cook until done- about 160 degrees, the carry over heat will cook it to the safe 165 degree mark.  About 6-8 minutes each side if in a frying pan.  The GF grill took about 6-8 mins all together (obviously because it cooks both sides at once)


For the Red Cabbage and Carrot Slaw:
  • ½ of a medium sized head of red cabbage, shredded
  • 1 ½ carrots, shredded
  • the other ½ of that red onion, sliced thin
  • juice of one orange
  • extra virgin olive oil to coat
  • 2-3 tablespoons of apple cider vinegar (or red wine vinegar would be good too)
  • salt and lots of fresh cracked pepper
Mix all ingredients in a bowl, cover and let marinate in the fridge while you make your burgers.

Toppings

Really they are whatever you want- BUT when people classify something as "Californian" for some reason it always has avocado. So this is what I topped mine with:

  • Turkey bacon or regular bacon
  • Avocado, sliced
  • Tomato, sliced
  • Cabbage and carrot slaw
  • Baby spinach
If you needed a dressing of some sort I would go with a honey mustard or blue cheese.  OR instead of mixing the chipolte in with the meat- you could mix it up with some mayo and use that as a dressing.  I skipped the cheese but a spicy monteray jack cheese would be awesome (because it originates from CA!) or maybe a tangy provolone.

Pile it high on a crusty but soft bun and this is one burger you will be making again!

Thursday, October 13, 2011

Risotto


Ok so risotto isn't as hard as it seems, but it does require a bunch of stirring.  I have made risotto without stirring constantly and you still get a nice result.  Also, risotto is not a dish, it is a cooking technique.  Usually it is made with a short grain rice (there are three types, but the most common one is arborio rice).  For some reason I have a hard time finding it, and when I do it is so over-priced.  So yes, most times I use long grain rice, jasmine rice, or even pasta (especially orzo or broken spaghetti).  You just need to understand what is going on when you cook risotto.  Basically you are breaking down the starches in the food (this is why you need to stir stir stir!) and then some starch is being released and some gets absorbed back into the rice or grain you are using.  That is why it has a creamy texture in the end.  This technique is a classic and a corner stone in the kitchen.  Once you know the technique by heart, you won't think it's that big of a deal.  Actually, I like how risotto takes time to cook- it is time you can spend in the kitchen with friends or loved ones just chatting and enjoying some wine- you can also have them help you stir when your arm gets tired.

Risotto is a classic Italian dish.  I usually pair it with baked chicken, or something I don't really need to keep an eye on, so I can focus on the risotto.  Risotto is a great technique to learn because there are so many different ways you can customize it.  As long as you follow the traditional directions below- you can add pretty much anything to it.  Some examples: mushrooms, spinach, asparagus, lemon, different cheeses, chicken, fennel, bacon and the list goes on. 

 
Ingredients
  • 1 cup of rice (shorter the grain the better)
  • about 5-6 cups of chicken stock (you might not use it all- it varies each time)
  • 1 onion, diced
  • ½ cup of dry white wine
  • ½ cup of parmesan cheese
  • Butter
Directions
  1. We need to start with two pans- one a large skillet and the other a pot for the stock.
  2. In the pot add the stock and warm it up- we just need to get the liquid warm and keep over low heat.
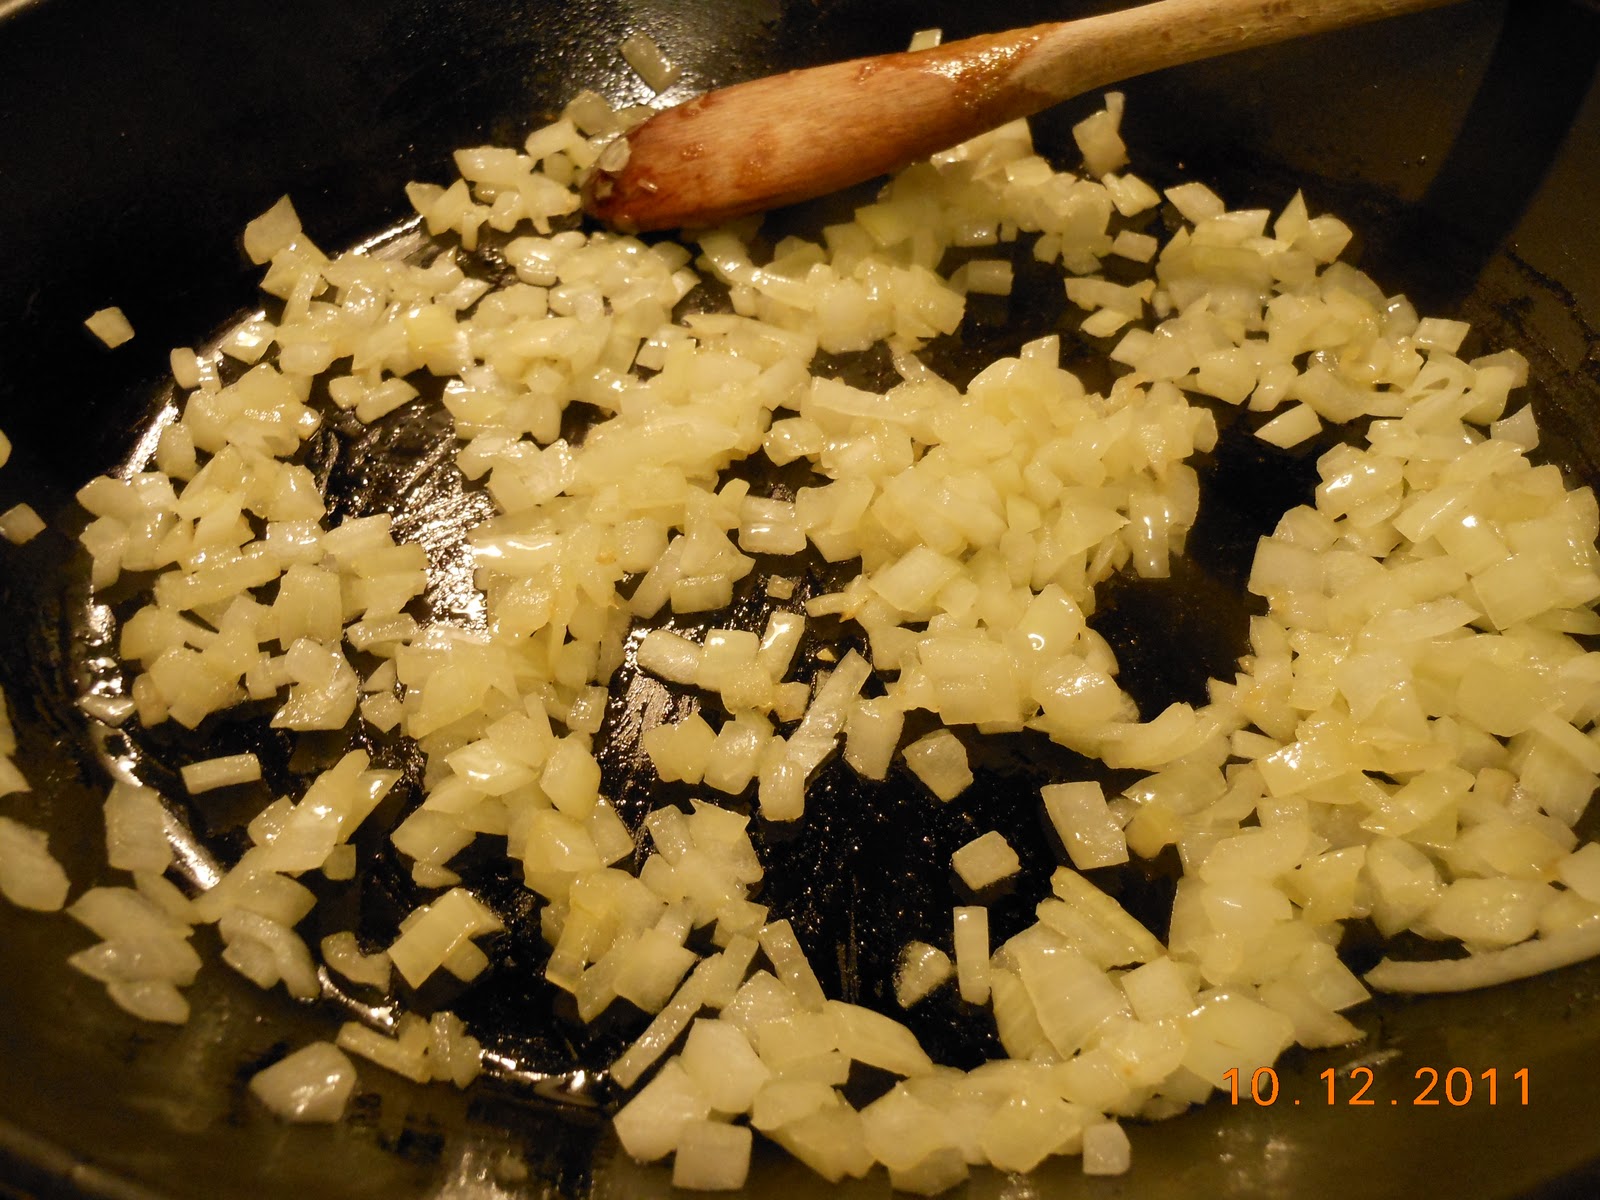
  3. In the skillet add about 2 tbsp of butter (or you could use oil too).  Keep the flame over medium heat and when the butter is melted add the onion and some salt.  We are sweating the onion, not browning it.  So do this over medium heat until the onions are translucent.
  4. When the onions are done add the rice and toast the rice for a couple minutes.
  5. Deglaze the pan with the wine.  Let the rice absorb the wine completely.
  6. Now we start with the first edition of the stock.  This is going to take a couple of installments.  Add enough stock to the skillet (about 2-3 ladles full) to just barely cover the rice.  Stir this until all the liquid is absorbed. (Yes, lots of stirring needed to develop the starches).
  7. Repeat step 6 until the rice has a creamy consistency and is cooked through.  You should use almost all the stock, if not all of it.  It varies, sometimes I use it all- sometimes I am left with a cup or so leftover.
  8. At the very end add the cheese and a tbsp of butter and whip it up like mad to get the correct final consistency.
  9. Serve immediately.


And that's it! Told you it was easy!

 
If you wanted to make this with additions- you would either add them in when you cook the onions, before the rice toast, or at the end right before you add the cheese.  Add with the onion if the food needs to be cooked (e.g. mushrooms, garlic).  Add at the end if the food is already cooked (or really quick cooking- e.g. peas, spinach).


Friday, May 20, 2011

(Tofu) Wonton Raviolis

I know, I know, tofu OMG! Honestly the only difference this had from using ricotta cheese- was the texture, not the taste.  Of course you can just substitute the tofu for ricotta cheese and it will just be a bit creamier.  Make this for your family but don't let anyone know it's tofu- I bet they won't even notice.

Tofu facts:
  • Tofu is made of soybeans.
  • One half-cup serving of raw firm tofu contains 10 grams of protein, only 94 calories and 5 grams of fat
  • Tofu is also cholesterol-free as well as a great source of calcium and iron
  • Tofu is great at absorbing flavors and spices (kinda like chicken) because it works like a sponge and really doesn't have its own flavor.
  • There are two different kinds of tofu: silken and firm. Silken is like cream cheese (I have never used this one) and firm.  The firm type, when crumbled, looks like scrambled eggs or ricotta cheese.
Preparing Tofu
  • Tofu is packed in water. Think of it as a big sponge. Most recipes call for "draining" the tofu.  Basically drain the water and then wrap it in a bunch of paper towels and press it between two plates. Plate-tofu wrapped in paper towels-plate-something heavy on top to apply pressure to squeeze all liquid out.  Doesn't take long- about 15mins or so. 
Wontons!
  • Let me just begin by saying wonton wrappers are freaking awesome.  15 calories each and you can stuff them with anything- even dessert stuff!  They can be steamed, baked, fried, sauteed, boiled, frozen.  Look in your produce or frozen dept. If you have an Asian supermarket you can always find them there.  They are extremely cheap (for me its like $1.50 for 50 wrappers).  This recipe will make about 40 wontons. I keep them in my freezer and they thaw out super quick.

Ingredients
  • 1 (I think its like 16oz) package of firm or extra firm tofu
  • 1 cup of spinach (I used fresh baby spinach but you can always use frozen-thawed and squeezed though)
  • 2 cloves of garlic minced or grated (if you're not such a garlic fan use only one clove)
  • About 7 basil leaves, torn or chopped (if you don't have fresh used a tsp of dried)
  • 1 tsp each of: onion powder, oregano, crushed red pepper flakes, and salt
  • Few grinds of fresh black pepper
  • 1/2-3/4 cup of cheese- I used fresh Pecorino Romano, but you can use Parmesan or mozzarella
  • 1 egg
  • Package of wonton skins/wrappers (about 50 wrappers)
  • Cooking spray
  • Small bowl of water
Preparation:
  1. Preheat the oven to 350°F.
  2. In a bowl break up the drained tofu until it looks like ricotta cheese-ish.  Add the spinach, garlic, basil, dried spices, cheese and the egg.  Mix that all together.
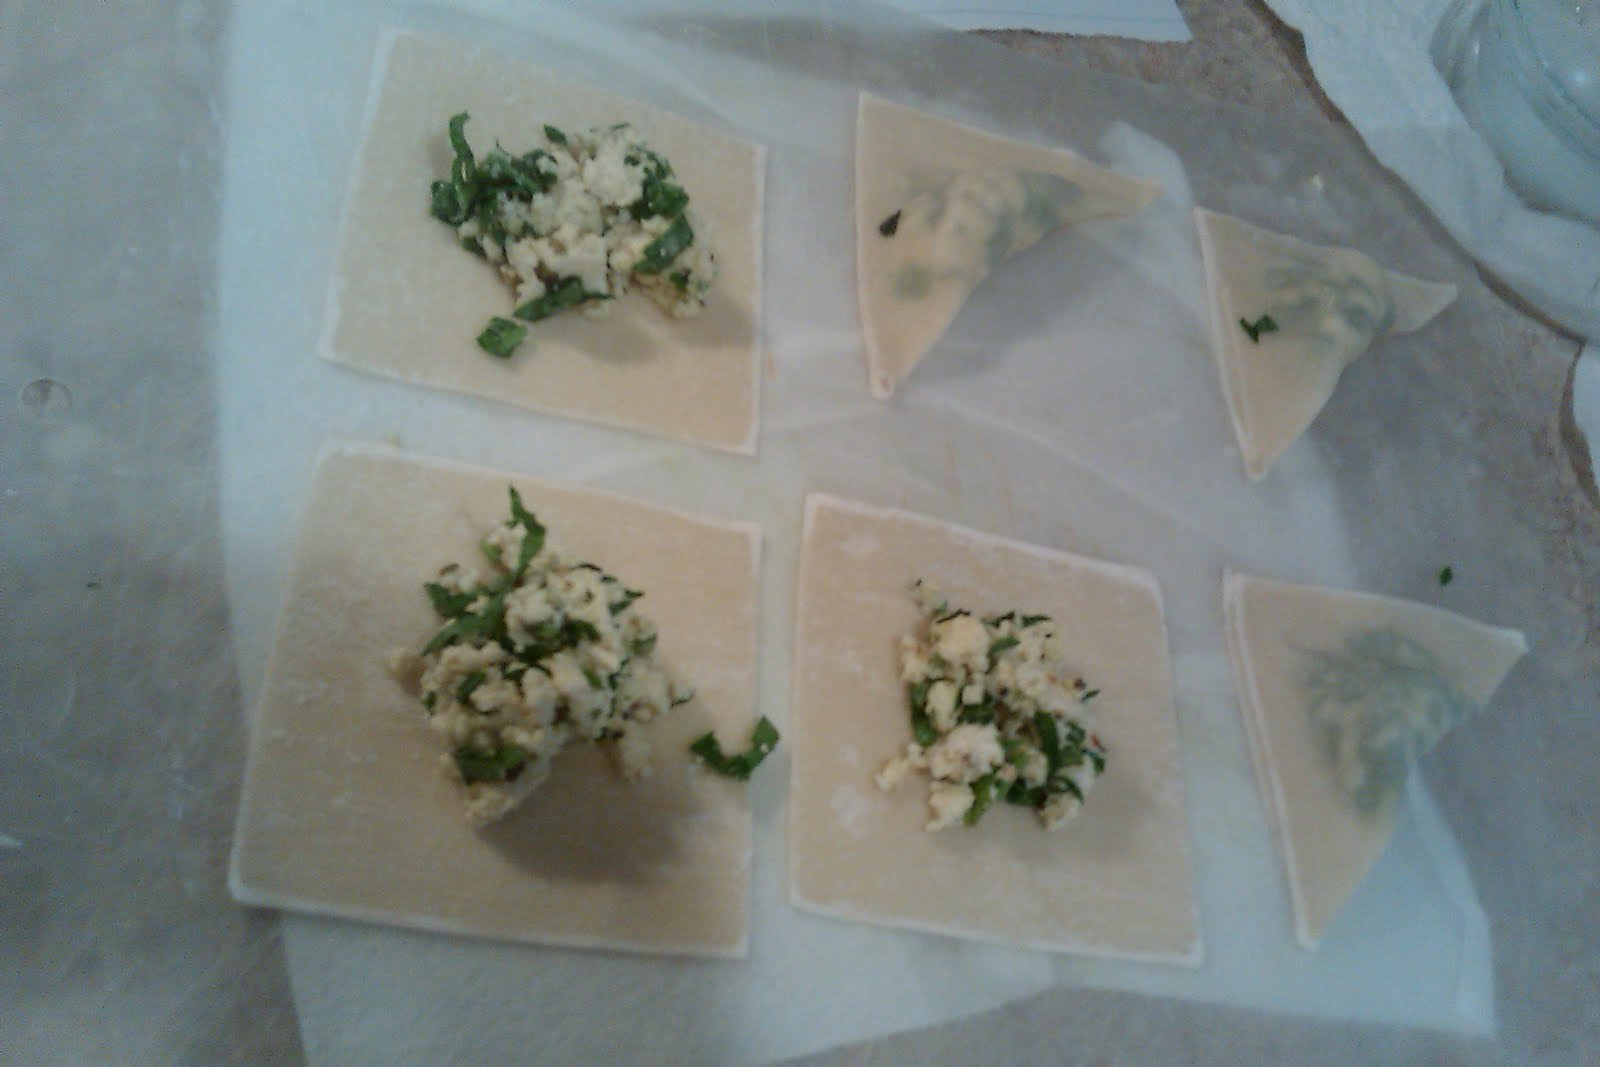
  3. Using a tablespoon (don't overload the wonton! it will break apart and become a mess), scoop one tablespoon of the mixture and put in the middle of the wonton.  Using the water dip your fingers and put the water on the edges of the wonton, then fold over into a triangle and seal-try to get most of the air out-place on baking sheets sprayed with cooking spray.
  4. After they are all done, spray the tops with cooking spray and pop in the oven for about 15-20 mins.
  5. Serve with your favorite marinara/tomato sauce!


PS: these are awesome for parties and appetizers.  I know they are a pain in the ass to make-it takes a little while- but worth it in the end. If you dont have a lot of time that day you can prepare them and then just freeze them! (freeze them flat on the trays if you can, then put into ziplocks) (If you ever had frozen pierogies its sort of like that) Then just pop in the oven (might have to bake a little longer-or you can just defrost them on the counter first).  This idea is great for like wonton soup or you can even make pierogies just stuff with mashed potatoes, garlic and cheese!
Related Posts Plugin for WordPress, Blogger...