Showing posts with label bread. Show all posts

Thursday, July 26, 2012

Rustic Whole Grain Bread (in the Crock Pot!)


So I was searching around the Internet and happened to come across the concept of making bread in the crock pot.  I was like no way! but it's possible! And to make it even better- it's easy!  Now a disclaimer here: this bread is not like store bought bread- considering the process of making bread the correct way involves rising, or even double rising, lots of kneading, special ovens etc.  So this bread was a bit on the small size, it didn't rise too much, it also is a bit dense.  This bread is a whole wheat/grain bread so that could be why it is like that. But...

Regardless, for a healthy bread that you make at home with no oven (aka no hot house), no kneading and no rising it is pretty awesome.  Toast it up for breakfast or I even sliced it as thin as I could for sandwiches.

Perfect for making bread in the summer and basically fool proof. So go and try it tonight!!!  I am going to experiment with different doughs to see different results. 

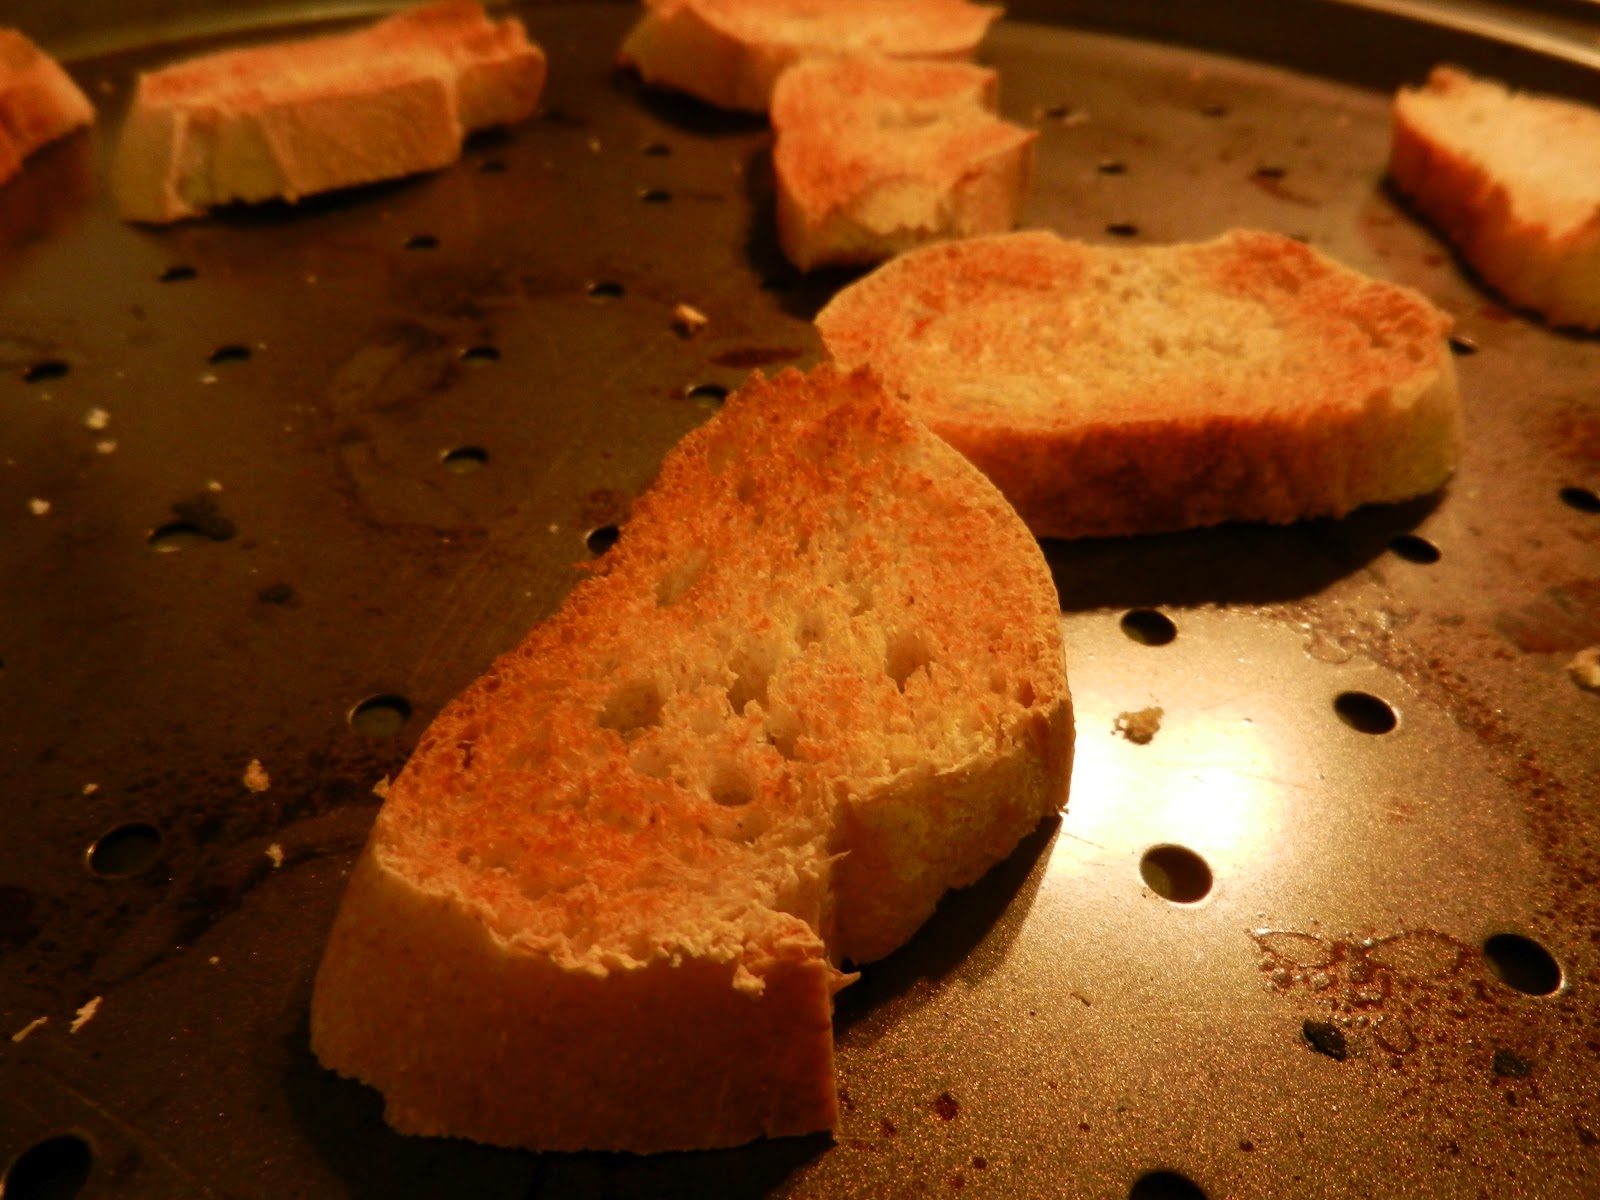
Oh and sometimes the bread doesn't get that crispy texture on the outside- this one kind of did, but I wanted more- so just pop under the broiler for a couple minutes to get that nice brown crust.  But be careful handling the dough out of the crock pot- it will be hot.

Ingredients

  • 1 cup of (boiling) water
  • 1/2 cup of bulgar (cracked wheat)
  • 2 to 2 1/2 cups of bread flour
  • 1 packet of active dry yeast (or 3 tsp of instant yeast)
  • 1 tsp of salt
  • 1 cup of whole wheat flour (or 1/2 of wheat flour and 1/2 of rolled oats)
  • 1/4 cup of flax seeds* (or any seed/nut you have- like sesame, poppy, walnut etc)
  • 1/2 cup of silken tofu (or you could use yogurt or cottage cheese)
  • 1/4 cup of honey (or a about 2-3 tbsp of sugar)
  • 2 tbsp of oil (I use canola)
  • 1 egg

Directions

  1. In your crock pot line the bottom with some parchment paper and sprinkle with a bit of flour.
  2. In a small pot bring the cup of water to boil and add the bulgar- then shut off the heat and let steep for about 5 minutes.
  3. Add all your dry ingredients into one large bowl (bread flour, yeast, salt, wheat flour, seeds) and mix.
  4. In another small bowl add your wet ingredients- tofu, honey, oil and egg- beat the until the mixture is combined well.
  5. Drain bulgar (but reserve excess water if possible, I needed a bit more liquid for the mixture later for it to come together, so I figured use the left over water from bulgar- but you may not need it, or you could just use regular water)
  6. Pour the wet into the dry and mix until just comes together a bit, then add the drained bulgar.
  7. Mix until it becomes a dough.  I had to knead it until it became dough (but just until it came together). (This is where you might need a bit more of that water or if it is too sticky/wet add more flour).
  8. Form it into a ball shape and put into your crock pot on top of the parchment paper.
  9. Close up your crock pot and put on high for about 2 to 2 1/2 hours.  They say the internal temp should be at least 200 degrees F.  You can tell when it is done- the crust will be firm and the dough will hold its shape. 
  10. Carefully remove with mits or a towel and let cool before slicing.  Let it cool on a cooling rack otherwise the bottom of the bread will get soggy.
  11. As I mentioned before if you want a crispy crust just put under the broiler for a couple minutes- just keep an eye on it.
Enjoy!

* Here's the low down on flax seeds- if you can find them for a good price get them- if not, it's not the end of the world but here's what's so good about them:

  • High in calories.  Most calories are fat calories (which are common in nuts and seeds)
  • Super high in iron, calcium, protein, fiber and vitamin E
  • Excellent source of health-benefiting nutrients, dietary fiber, minerals, antioxidants and vitamins that are essential for optimum health.
  • The seeds are packed with many important B-complex groups of vitamins such as riboflavin, niacin, thiamin, pantothenic acid, vitamin B-6, and folates
  • Furthermore, flax seed is rich source of minerals like manganese, potassium, calcium, iron, magnesium, zinc and selenium
  • Flax seed is rich in monounsaturated fatty acids like oleic acid. It is also one of the top vegetable sources of omega-3 essential fatty acids. One spoonful of flax seed oil provides about 8 g of omega-3 fatty acids.
  • Helps lower LDL or “bad cholesterol” and increase HDL or “good cholesterol” levels in the blood. 

{http://nutritiondata.self.com/facts/nut-and-seed-products/3163/2}
{http://www.nutrition-and-you.com/flax-seed.html}


Sunday, February 12, 2012

French Onion Soup


This has to be my favorite soup. I could eat this whole batch! I'm not going to lie- this soup takes a long time to make.  The onions need to cook down for about two hours and then I like to simmer the soup for at least another 30 minutes for the flavors to marry.  I always hear Julia Child's voice in my head: "If you don't let it simmer and marry then all you have is onions and stock, not French Onion Soup."  The end result is so worth it, believe me.  Pretty healthy for you considering the small amount of cheese and bread that is involved and the rest is basically just onions and water! Oh yea and this is also a super cheap meal that feeds a lot!

It is pretty cold out today in NY so why not spend your Sunday cooking up this delicious soup for the family! or just yourself ;)

Couple notes here:  The wine optional, but I like the depth of flavor red wine brings to the soup.  You can use fresh stock but I always have bouillon cubes on hand (just taste before adding salt considering these are packed with sodium).  The cube ratio I use is one cube to one cup of water. I like to use a combo of beef and chicken to make it a touch lighter, but tradionally it is all beef stock.

The classic cheese for FOS is Gruyere but I can never seem to find it, so I substitute Swiss which is just as good.  I buy the 1 pound wedges of Jarlsberg Swiss so I just grate whatever I need- I love lots of cheese so grate to your preference.

Ingredients

  • 5 large yellow onions, I like them sliced- but anyway you want to cut them is fine.
  • 1 tablespoon of oil
  • 2 tablespoons of butter
  • 1 tablespoon of salt
  • 1 tsp of flour
  • 1/2 cup of red or white wine (optional)
  • 1 tablespoon of fresh thyme (or a tsp of dried)
  • 2 bay leaves
  • 4 beef boullion cubes
  • 2 chicken bouillon cubes
  • 6 cups of water
  • Swiss cheese, grated
  • french baguette, sliced
Directions

  1. In a large soup pot add the oil, butter, all the onions and salt.  Cover and cook on low for 1-2 hours.  I know this seems long but you HAVE to cook them really low or they will never caramelize correctly and you will just end up with burnt onions.  I use a hair higher then my lowest flame setting.  I just leave them alone and check every 30 minutes- checking more often towards the end.  Here are pics at the beginning, one hour, one hour and a half, then 2 hours.


  2. Sprinkle the onions with the flour and let cook out for about 1 minute.
  3. Now deglaze with the wine if you are using.
  4. Then add everything else except for the cheese and bread.  Bring to a boil then to a gentle simmer.  I simmer for at least 30 more minutes but I have ranged from 10 minutes to 60 minutes before I ate, so I guess depends on how much patience you have.  Remember longer the better though.  If the liquid level gets too low, just add more water.  Also remember to taste before serving. 
  5. After the soup part is done- which by the way is very good on its own, but to make it even better we add cheese and bread.
  6. While your soup is simmering turn on your broiler.
  7. Toast your sliced baguette and grate your cheese.
  8. I have these cute little ramekins but any bowl will do.  Ladle in your soup then top with one or two pieces of bread then top with about 2 tablespoons of shredded cheese .
  9. I put the ramekins or bowls on a baking sheet in case of boil-overs and pop under the broiler for a few minutes until the cheese is brown and bubbly!.
  10. Careful handling the ramekins or bowls they are extremely hot! Safety first then stuff your face with this delicious soup!

Tuesday, September 6, 2011

Panzanella

Panzanella is a traditional Italian bread and tomato salad.  There are many versions of this salad, but the 2 key ingredients are stale bread and tomatoes.  And when I say stale, I mean hard NOT moldy.

There are so many good things about this recipe:
  1. Super simple to make
  2. No stove required
  3. Using up ingredients you might have just thrown out
  4. Healthy
  5. Delicious
  6. Versatile/customizable
This recipe reminds me of when Brendan and I lived in our 2nd apartment in Bellerose, NY.  Almost every night in the summer I would make grilled chicken and this salad and we would enjoy dinner outside on our back porch.  Perfect for those fresh summer veggies and days that are too hot to cook.

I am also trying to use up all the gorgeous veggies that my dad has grown in the backyard this season.  We need to finish up the summer harvest so he can plant the fall harvest! Absolutely love that he grows all this stuff! Free fresh veggies, I can pickle all the hot peppers, make sauce from tomatoes and can for the winter, andddddd I just found rosemary growing too! Wonderful! I wish I had the time, patience and room to grow plants/food like my dad does.


Ingredients
(This is what I used to make about 4 good-sized bowls of the salad)
  • 1/2 loaf of stale french baguette, broken into pieces
  • 3-4 large really ripe tomatoes, chopped into big chunks
  • 1 cucumber, chopped into big chunks
  • 1 small red onion, sliced thin
  • 15 basil leaves, ripped/torn/sliced
  • EVOO
  • red wine vinegar
  • salt & pepper
Directions
  1. Take half your bread and soak in water.  Reserve the other half for now. (If you don't have juicy tomatoes then soak all your bread in water)*
  2. Cut your tomatoes and put in a large bowl.  Squeeze them in the bowl so a lot of their juices are released.
  3. Cut up the cucumber, onion and basil and add to the tomatoes.
  4. Carefully and gently wring the water out of the bread that's soaking and break up/crumble with your fingers and add to the bowl with the veggies.  Add the dry bread in as well.
  5. I drizzled in about a 1/4 cup of EVOO and about 3-4 tbsp of vinegar.  Salt and pepper to taste.  This step is based on your preferred taste.  Add more or less of any of these ingredients.
  6. Toss to combine and let sit about 10 minutes.
  7. Enjoy with some simple grilled chicken and you have a lovely simple summer time dinner.


*The soaking of the bread in water is the traditional part of the dish.  I've read a lot of recipes for panzanella, some people toast the bread, but I think that takes away from the essential idea of the dish by toasting.  (I would agree though it will change the overall taste of the salad) It's kind of a throw-together & use-up-what-you-have dish (very Italian).  Besides, the bread is already rock hard and why waste time toasting. 

I soaked only half the bread in water and left the rest out, because I wanted the other half to soak up more of the tomato juices.  That's why I squeezed the tomatoes in the bowl in the beginning.  But you can do whatever you want- it's your salad, and you're going to be eating it, not me.

As I said before, this dish is very easy to make according to what you like, so add more of one ingriedent if you want.  Even though this is a good guidleine to go with, I never follow a set recipe for this.  It really is just throw in whatever you have and toss with some stale bread.  You can use peppers, capers, garlic, carrots, parsley, olives, cheese etc.  Recipes like this make leftovers look good, even impressive!

Related Posts Plugin for WordPress, Blogger...